
I built a frame building jig and alignment jig for building this bike:
Before finding out that liability insurance for building motorized bicycles is at least $15k per year, I thought I'd make a jig so I could produce the same bike repeatedly. I've built other bikes, but have never tired to build the same bike multiple times. Well, given the price of insurance, I won't be building these bikes to sell, but building the jig was fun, and it can be used for other frames too. I subscribe to the practice of tacking the frame together in the jig, then doing alignment correction, then doing the final brazing.
I don't have a lathe, and I'm cheap, so what most people would make on a lathe, I found other ways to make. Our local Contractor's Warehouse store is having a perpetual sale since they're going out of business, and they had a bunch of "C" channel, brackets and bolts for super cheap. The channel bolted to something rigid and flat works fine for a jig. The cones used to hold the head tube are (don't laugh) made from cocktail jiggers. They're the perfect size and only cost 25 cents per double sided jigger at the thrift store.
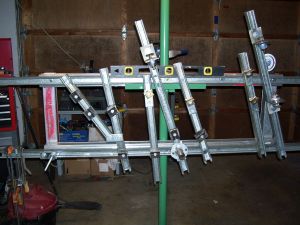
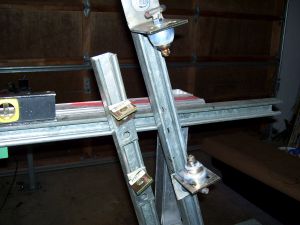
The jig set up for building the bike above. It rests on a bracket I brazed to a vertical pole that goes floor to ceiling in my garage. I have a Park repair stand clamp on the other side.
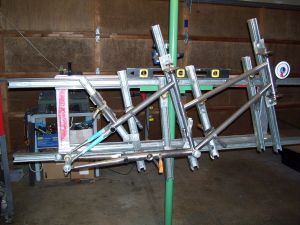
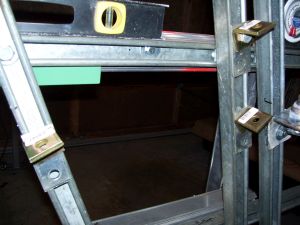
Tubes loaded ready to tack.
I found some square tube aluminum extrusion at my local scrap metal yard that is pretty heavy duty and very straight. I bolted four pieces together (three bolts per joint) to make the "backbone" for this, then bolted two long horizontal pieces of "C" channel to bolt other pieces of channel to.
Setting this jig up isn't easy like pro jigs, but my intent was just to build one model of bike repeatedly with it.
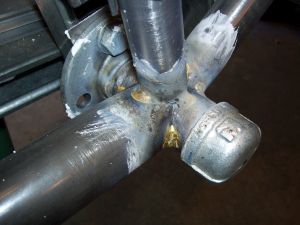
Don't laugh, this works great for holding the bottom bracket shell. I touched up the front and back surfaces, and the bottom surface of the cap on my belt sander, and the shell doesn't wiggle at all. I barely needed to do any alignment after tacking too.
I made a whole slew of these "V" blocks made from angle iron and steel plate. They're fast and easy to make. Just lay two 2" pieces of angle on your bench near each other with the vertex up, put the square plate steel on top and lay a firebrick on top that spans the two, and the flat plates are guaranteed to be exact 45 degree angles to the angle iron sides. Then drill a hole for a bolt so you can bolt it to the channel. Shim as needed.
A tube clamped against a "V" block.
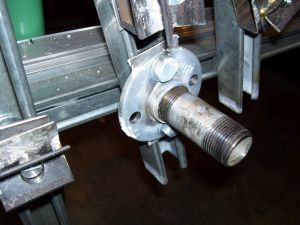
My rear dropout spacer. It's a bit flimsy, but it worked. 3/8" threaded rod, through a tube with washers brazed on the ends. If I had a lathe...

My adjustable dropouts secured by the spacer.
I searched through all kinds of piles of stuff to find cones, then I saw cocktail jiggers in a thrift store. You have to be careful when drilling or brazing them as they're pretty thin walled. Some are better than others.
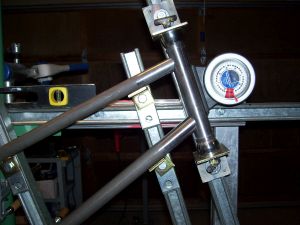
The head tube secured with the jigger cones.
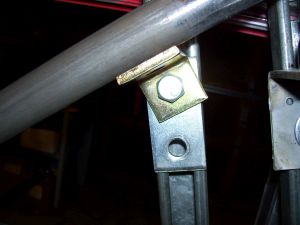
The brackets that hold the jiggers have plate steel brazed on the sides to make them align well with the channel. They're rock-steady when tightened down. Here's the top cone.
And the bottom cone.
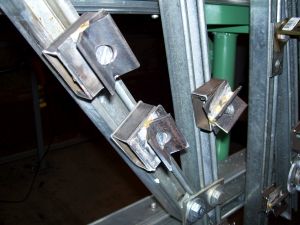
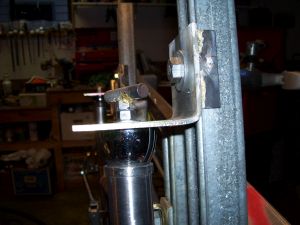
The brackets for the channel were useful in supporting tubes.
The front end of the downtube supported by a bracket.

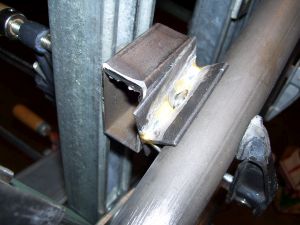
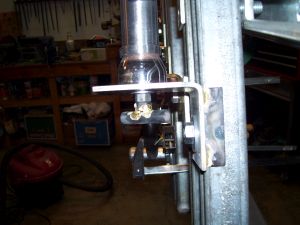
This is the strut that the engine for this bike is mounted too. I ran low on clamps, so this tube is secured with a leather toe strap. Leather's pretty heat resistant.
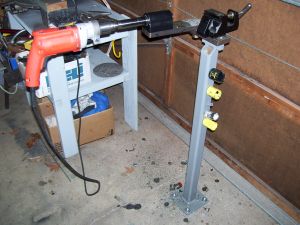
My tubing notcher.
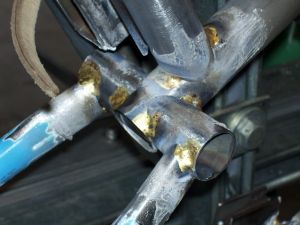
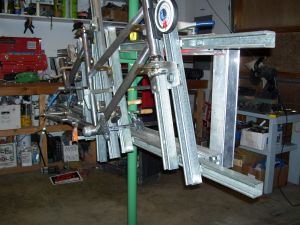
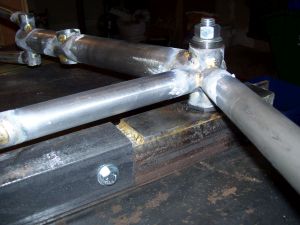
Top end of the rear triangle tacked.
Bottom bracket tacked.
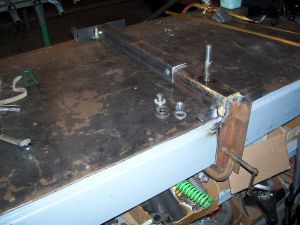
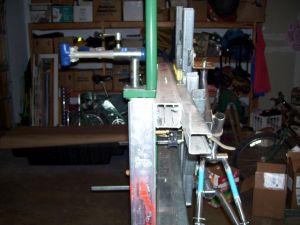
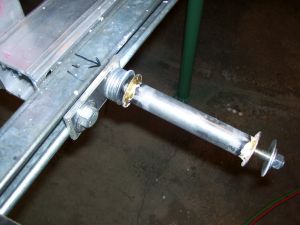
Here's my alignment jig. It's basically a piece of really thick angle iron that spans the width of my welding table. I brazed a 1/4" thick piece of plate steel to one end with a heavy bolt that extends up from underneath. That secures a couple of bottom bracket cups that I brazed some tubing on to to keep them centered on the bolt. Enlarge this picture to see the bottom bracket cups.
Since the thick angle iron wasn't 100% reliable for flatness when measuring alignment, I added another piece, attached with bolts, that could be adjusted/calibrated. This worked well.
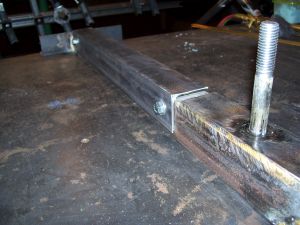
The frame secured in place with the bottom bracket cups, ready for measurements to be made between the down tube and the adjustable plate below.
A close up of the the bottom bracket mount. When bending the frame joints for alignment, I detected no flex in this jig.
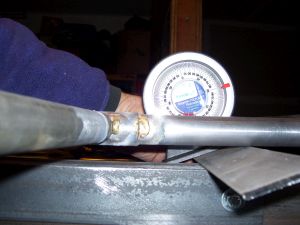
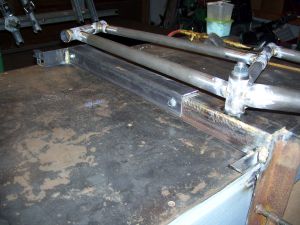
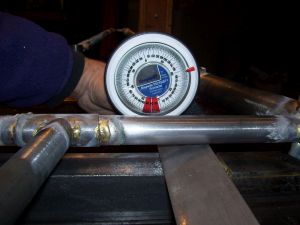
I don't have a surface gauge, so I measured by putting my angle gauge on a piece of flat bar, and then angling the bar so it filled the gap between the tube and the plate below. This worked well.
I can't tell you how far out the aligment was after tacking, but it wasn't much, and was easy to correct.