
The paint tent, made from plastic and duct tap in my garage. It was pretty small and I was concerned about overspray, so I made a ventilation system.
Finished paint | Paint setup pictures
After the first attempt at the finish coat, I took the parts home and sanded them down again and built a spray setup in my garage with heat and a ventilation system. After buying a spray gun and getting some excellent advice from Neil "the paint guy" at Westbay Auto Parts in Poulsbo, I did some practice spraying on cardboard. Learned about the gun this way, many adjustments on it for air flow, pattern shape, orientation and size, and fluid delivery. The paint was 3-part, with a hardener and reducer combined in a 4:1:1 ratio, with the hardener type specific to the anticipated temperature in your paint booth. I had circuit breakers tripping between my generator kicking in and my electric heater on full blast. At any rate it came out with no runs and minimal dust. Spritzing the floor of the tent with water helps keep the dust down. A day later at 70-80 degrees the paint was nice and dry. I have one "orange peel" section on the tank that needs sanding with 1500 grit paper and then buffing, but I'm happy.
The paint tent, made from plastic and duct tap in my garage. It was pretty small and I was concerned about overspray, so I made a ventilation system.
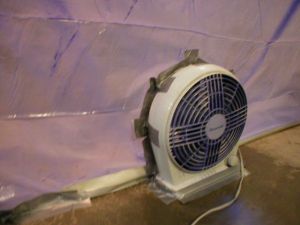
The exhaust fan taped to the tent, just below the table where I painted.
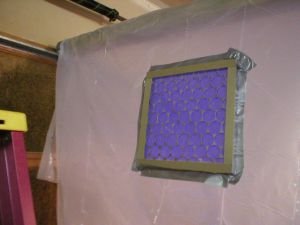
A furnace filter covering the ventilation intake opening.
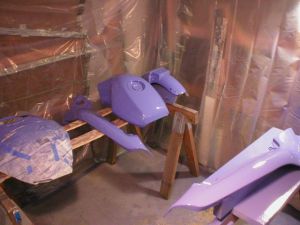
Just-painted parts on the drying rack. Painting table on the right.

The drying rack.
The painting table.
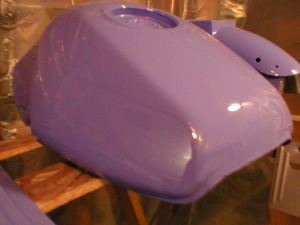
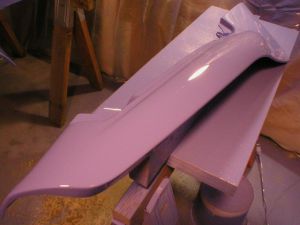
A close up of the tank.

The Givi windscreen with newspaper and tape masking. I used vinyl electric tape for the finished edge rather than the official "finishing" tape you can buy from auto body suppliers. Seemed to work well and can be easily curved.
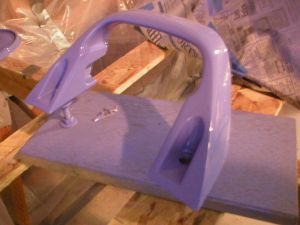
The rear seat handle. It was tricky to paint due to the recesses. Also it's made of aluminum and required using special AL primer in a rattle can.
Finished paint | Paint setup pictures