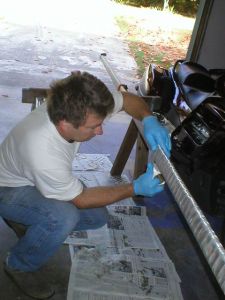
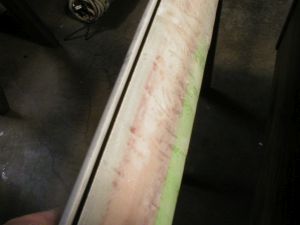
Wrapping 3" fiberglas cloth tape around the windsurf mast to join the plastic conduit tube and mast.
Jim's home | Trimaran home | Canoe conversion home
October, 2006 - After deciding that I like this boat a lot, I'm making a number of improvements to make it faster, easier to rig, easier to sail, and more comfortable for passengers. The biggest and most complicated change is making the mainsail able to be raised and lowered independently of the mast being raised and lowered. To do this, I added a track to the mast by attaching plastic conduit tubing (UV resistant conduit for electric work) to the windsurf mast with epoxy and fiberglass cloth, and cut a slot in the conduit to make a channel for the mainsail to be threaded into.
The other big change is adding a jib. I bought the Hobie 16 mainsail and jib at a marine yard sale in Seattle for $35, and until now have not used the jib. It's worked out so the steel cable leading edge of the jib will serve to hold up the mast from the front. Other changes include bigger platforms for passengers out near the amas, and better hardware for the mast base and leeboards.
Wrapping 3" fiberglas cloth tape around the windsurf mast to join the plastic conduit tube and mast.
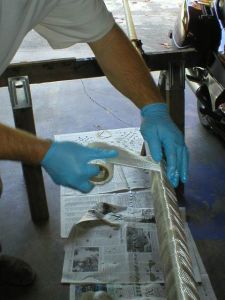
I used a paintbrush to paint on a coating of epoxy resin first, wound the fiberglas, then rolled on more resin with a little foam roller. It worked fine.

Close up of a cured section of the mast and conduit. I overlapped the cloth so it's at least double thickness for the entire length of the mast.
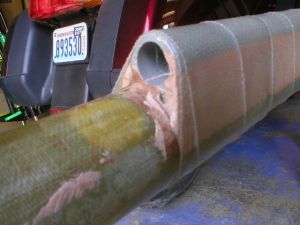
A close up of the top end. To initially glue the conduit to the mast, I secured it with single wraps of electric tape about every 2 feet, injected expanding foam sealant (aka. "Great Stuff"), trimmed the foam after it cured, then filled with Bondo auto body filler. The conduit, bondo and mast were all abraded with very coarse sandpaper to give a tooth for the epoxy to bond to.

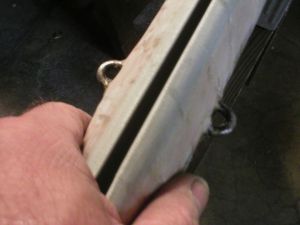
The base of the mast where I left the flared end of the conduit on to make it easier to thread the sail up into when rigging.
After the epoxy used for laminating the glass cured, I sanded it, coated with epoxy again, sanded that, and then cut the slot. It came out great.
To cut the slot, I ran a black Sharpie pen down the top-center of the conduit, and then cut with a circular saw with two blades sandwiched together for adequate width. With a slot made from a single blade, the sail binded so it couldn't be raised. Two blades together did it though.

Here's a closeup of the sail threaded through the conduit when it was first test-hoisted.
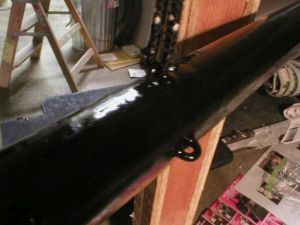
The mast just after painting it black with oil-based enamel.
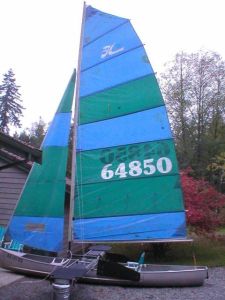
At last, the sail hoisted on a slotted mast.
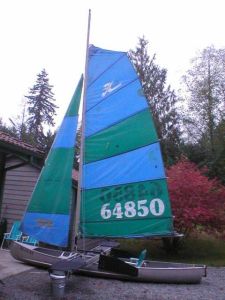
And reefed for high wind. Another important reason for being able to hoist and lower the sail.
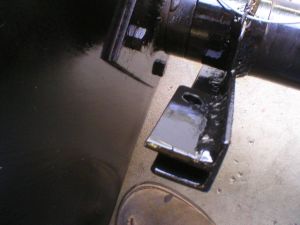
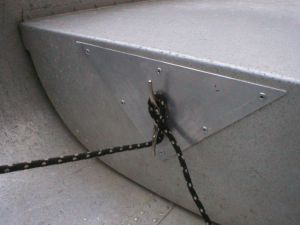
Added a metal flange to the leeboard gunwhale clamp. Without this the leeboards hung partly in the water when they were supposed to be fully retracted. Now they'll stay all the way out of the water.
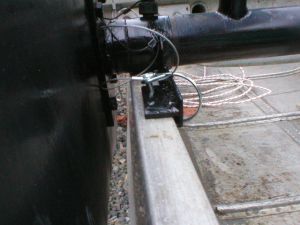
A close up of the flange pinned to the canoe's gunwhale.
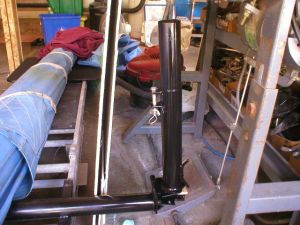
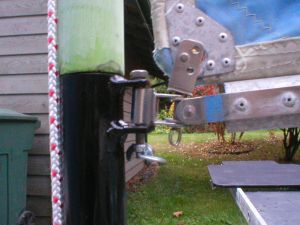
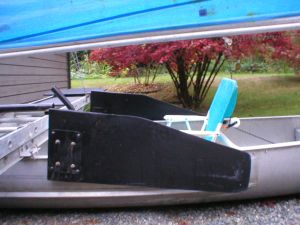
The new mast base in the "up" position.

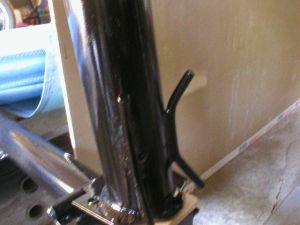
Mast base folded back in the position it would be in just before raising the mast.
Cleats for securing the mainsail halyard, made from bent steel rod.
Bracket for mounting the boom, with a stainless steel bolt and wingnut.
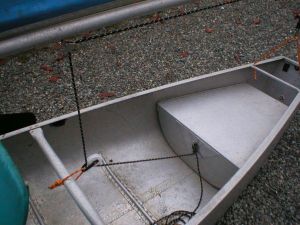
An overview of the new sheet routing.
A close up of the cleat mount on the rear canoe seat.
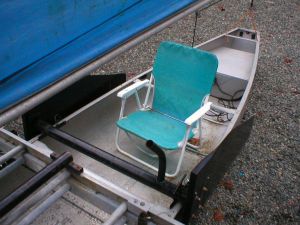
The passenger's beach chair.
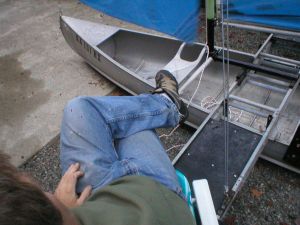
Just enough head room. The passenger will need to retract and lower the leeboards.
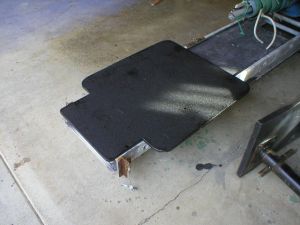
The new, larger platforms.
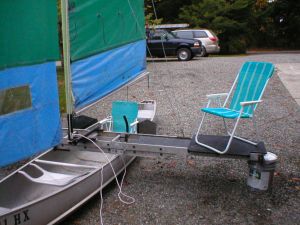
After putzing with the chair position, this seemed best. You can look forward and also talk to the pilot.
A view from the ama seat. This ought to be fun eh? Especially in a 20 knot wind.